
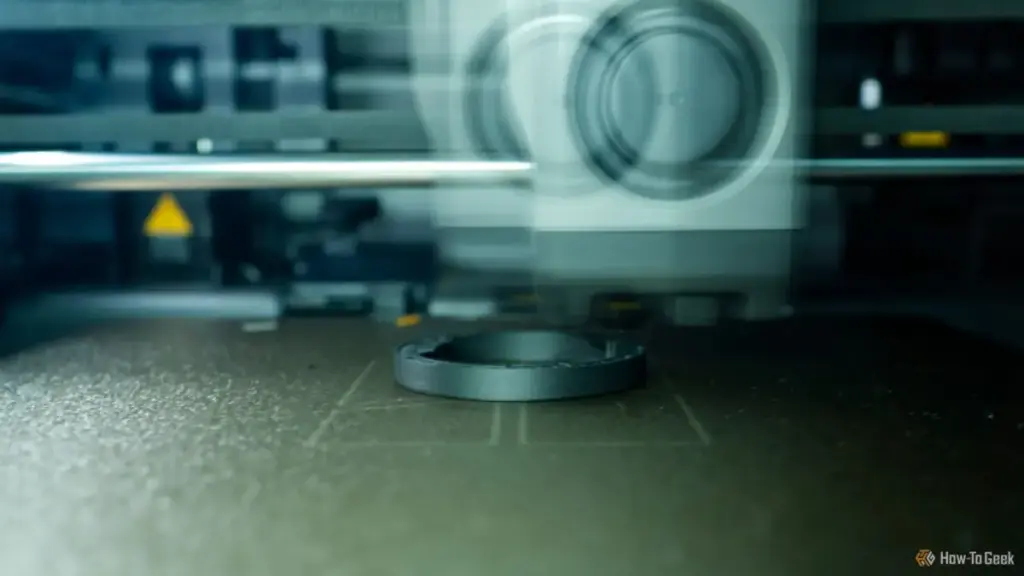
The ability to pause a 3D print mid-operation has long been celebrated as one of the most versatile techniques in a maker’s repertoire. By halting the deposition of filament at a specific layer, enthusiasts can transform a hollow plastic shell into a functional, multi-material object. Whether it is inserting a heavy metal slug to give a prop a realistic heft, embedding magnets for a seamless closure, or hiding a gift inside a permanent container, the "pause and resume" method is a cornerstone of advanced hobbyist printing. However, a growing number of cautionary tales from the community suggest that not all inserts are created equal. Specifically, the use of loose, fine particulates such as glitter or sand can lead to a mechanical catastrophe, turning a creative experiment into a costly "glitter bomb" that threatens the longevity of the printer itself.
The underlying logic of pausing a print is rooted in the fundamental nature of Fused Deposition Modeling (FDM). 3D printers construct objects by "growing" them from the build plate upward, laying down successive thin layers of molten thermoplastic. For any object with an internal cavity, there is a brief window of time during the printing process where the walls are established but the "roof" or top layers have not yet been sealed. This window provides a unique opportunity to interact with the internal geometry of the print.
Adding pause points to your prints is easy
Modern slicing software has made the execution of these mid-print pauses remarkably accessible. Previously, users had to manually edit G-code—the raw programming language that tells a printer how to move—searching for specific Z-height coordinates to insert a "pause" command. Today, popular slicers like Bambu Studio and OrcaSlicer have streamlined this into a visual process. Within the software’s preview tab, users can manipulate a vertical layer slider to inspect the model’s progress. Once the desired layer for an insertion is identified, a simple right-click on the slider allows the user to "Add Pause."
When the printer reaches this designated coordinate, it executes a specific script: the print head typically moves to a "park" position away from the object, the extruder stops feeding filament, and the machine enters a standby state. The print remains adhered to the heated bed, waiting for the user to place their insert and manually signal the resumption of the job. For those using magnetic flexible build plates, there is even the option to remove the entire plate to safely place an item before snapping it back into the exact same alignment.
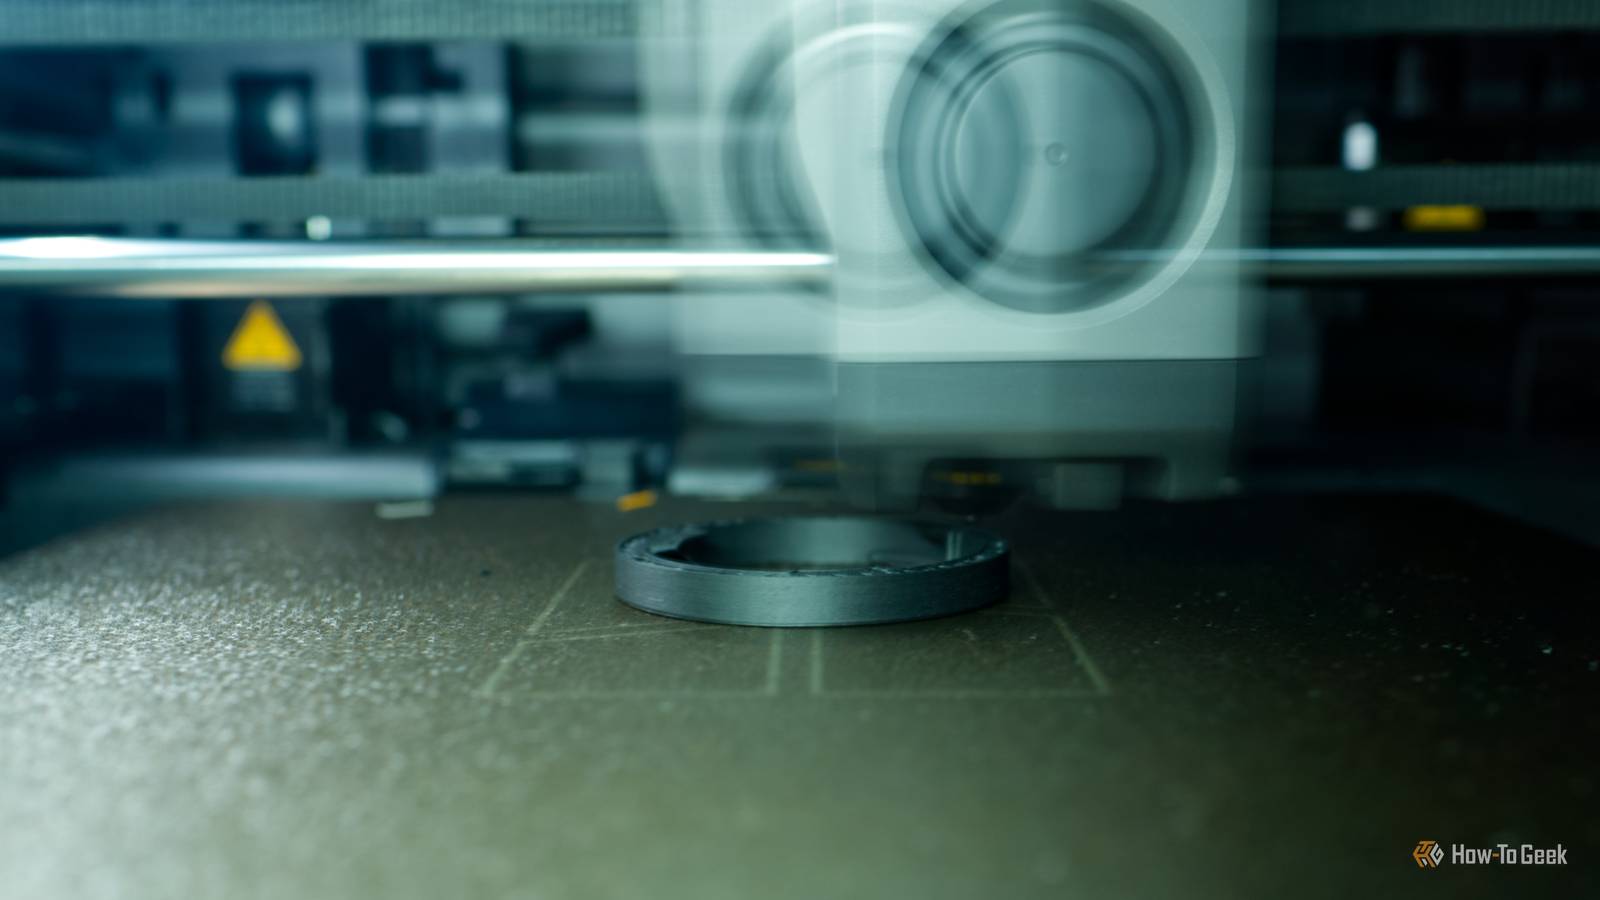
The motivations for using this technique are often practical. Because 3D printing filament is inherently lightweight and most models are printed with a sparse internal "infill" to save time and material, finished pieces can often feel unsubstantial or "toy-like." By pausing a print and dropping in a stack of pennies, a lead fishing weight, or a heavy bolt, a maker can achieve a professional, weighted feel for a fraction of the cost of printing a solid plastic object. Beyond weight, the technique is used for "print-in-place" mechanical assemblies and even "puzzle boxes" where a gift card or cash is sealed inside a structure that must be broken to be opened.
Glitter and fans do not mix
While solid inserts like coins and magnets are generally safe, the move toward aesthetic or tactile fillers has introduced a significant new risk factor. A recent viral account from the 3D printing community highlights the specific dangers of using fine, loose materials. A user on the Reddit forum r/3Dprinting, u/GetMeOffThisRidePlz, shared a "Today I F***ed Up" (TIFU) moment that has served as a stark warning to others. The user was attempting to print "squishy dumplings" for their daughter using Thermoplastic Polyurethane (TPU), a flexible, rubber-like filament.
 Tech Tutorials & How-To Guides
Beyond the Brand: Why Even Premium Power Drills Fail Due to Common Operational Habits
In the modern landscape of home improvement and professional construction, the cordless...
 Tech Tutorials & How-To Guides
Beyond the Drill: How Ryobi’s ONE+ Ecosystem is Redefining the Modern Home and Workshop
For decades, the image of a cordless power tool was tethered strictly...
 Tech Tutorials & How-To Guides
Amazon Retires Fire Tablet Brand in Favor of New Alexa Tablet Line with Google Play Support
In a sweeping transformation of its mobile hardware strategy, Amazon has announced...