
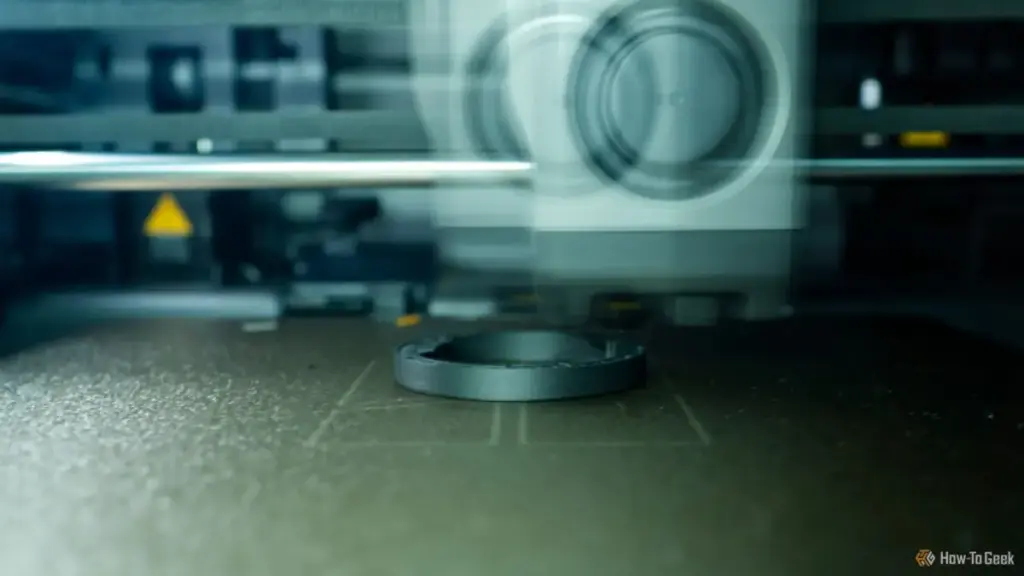
The ability to pause a 3D print mid-operation has long been celebrated as one of the most versatile techniques in a maker’s repertoire. By halting the deposition of filament at a specific layer, enthusiasts can transform a hollow plastic shell into a functional, multi-material object. Whether it is inserting a heavy metal slug to give a prop a realistic heft, embedding magnets for a seamless closure, or hiding a gift inside a permanent container, the "pause and resume" method is a cornerstone of advanced hobbyist printing. However, a growing number of cautionary tales from the community suggest that not all inserts are created equal. Specifically, the use of loose, fine particulates such as glitter or sand can lead to a mechanical catastrophe, turning a creative experiment into a costly "glitter bomb" that threatens the longevity of the printer itself.
The underlying logic of pausing a print is rooted in the fundamental nature of Fused Deposition Modeling (FDM). 3D printers construct objects by "growing" them from the build plate upward, laying down successive thin layers of molten thermoplastic. For any object with an internal cavity, there is a brief window of time during the printing process where the walls are established but the "roof" or top layers have not yet been sealed. This window provides a unique opportunity to interact with the internal geometry of the print.
Adding pause points to your prints is easy
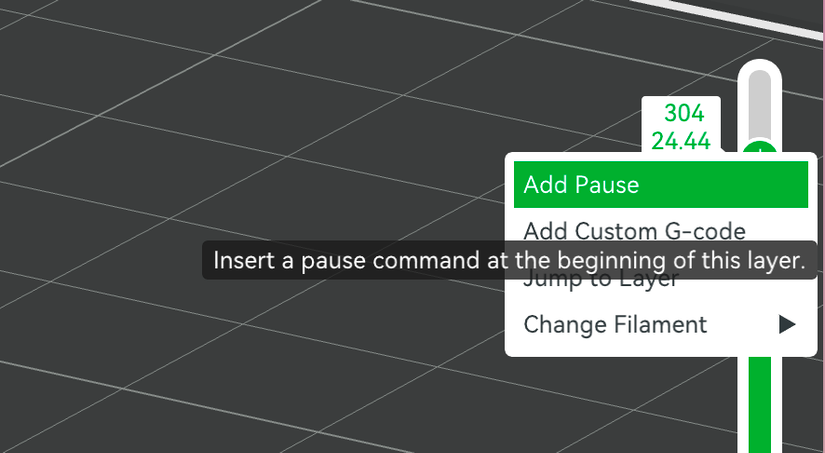
Modern slicing software has made the execution of these mid-print pauses remarkably accessible. Previously, users had to manually edit G-code—the raw programming language that tells a printer how to move—searching for specific Z-height coordinates to insert a "pause" command. Today, popular slicers like Bambu Studio and OrcaSlicer have streamlined this into a visual process. Within the software’s preview tab, users can manipulate a vertical layer slider to inspect the model’s progress. Once the desired layer for an insertion is identified, a simple right-click on the slider allows the user to "Add Pause."
When the printer reaches this designated coordinate, it executes a specific script: the print head typically moves to a "park" position away from the object, the extruder stops feeding filament, and the machine enters a standby state. The print remains adhered to the heated bed, waiting for the user to place their insert and manually signal the resumption of the job. For those using magnetic flexible build plates, there is even the option to remove the entire plate to safely place an item before snapping it back into the exact same alignment.
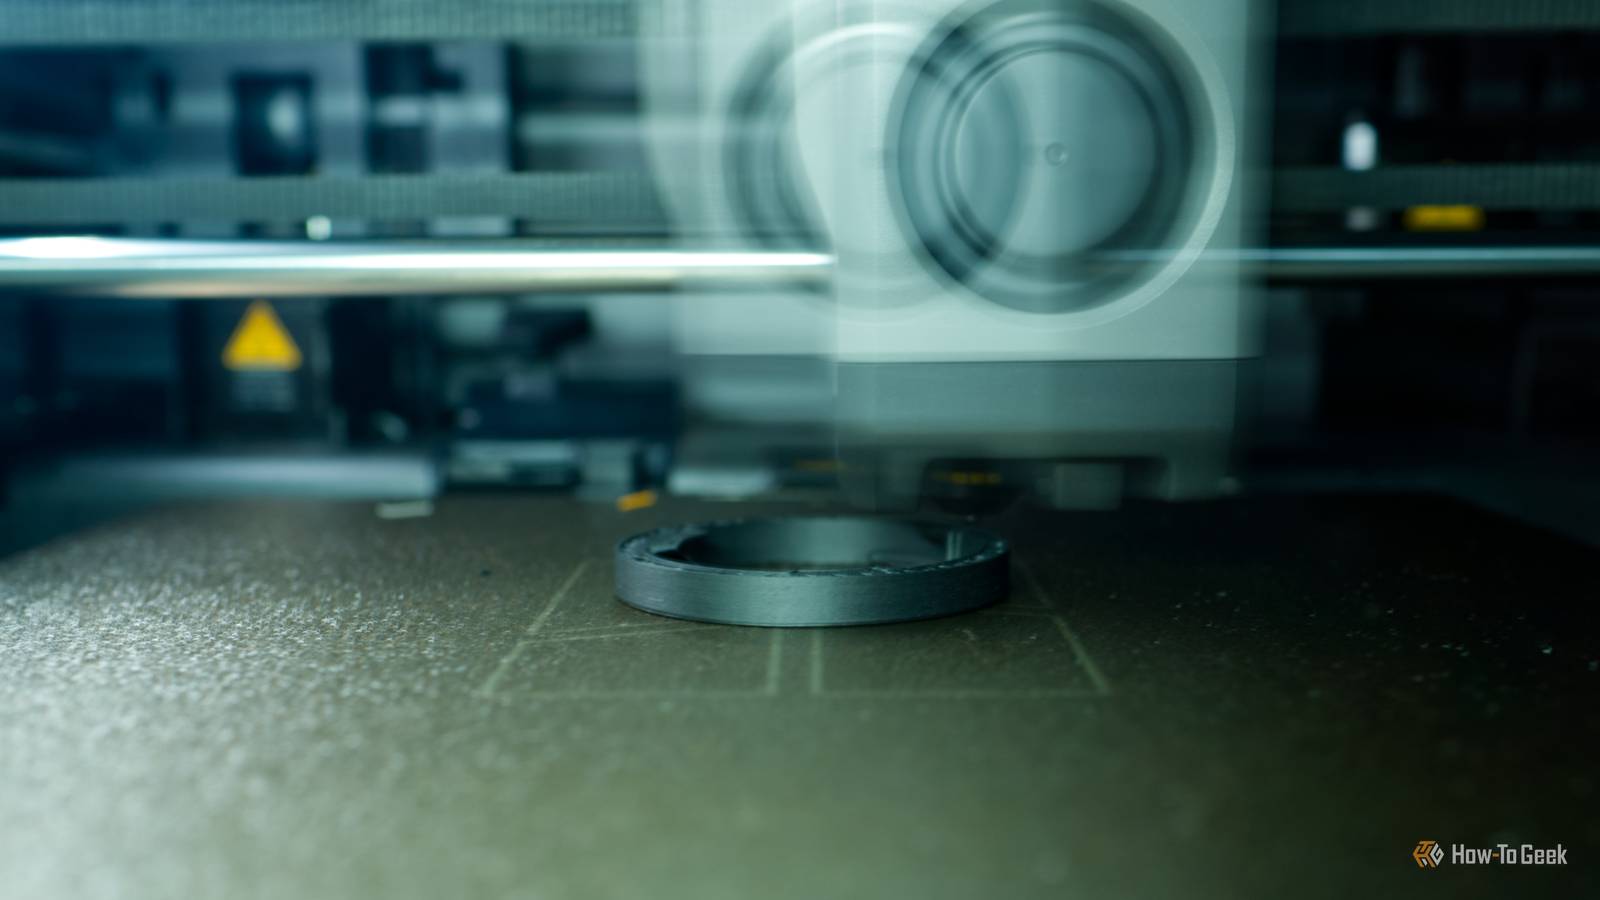
The motivations for using this technique are often practical. Because 3D printing filament is inherently lightweight and most models are printed with a sparse internal "infill" to save time and material, finished pieces can often feel unsubstantial or "toy-like." By pausing a print and dropping in a stack of pennies, a lead fishing weight, or a heavy bolt, a maker can achieve a professional, weighted feel for a fraction of the cost of printing a solid plastic object. Beyond weight, the technique is used for "print-in-place" mechanical assemblies and even "puzzle boxes" where a gift card or cash is sealed inside a structure that must be broken to be opened.
Glitter and fans do not mix
While solid inserts like coins and magnets are generally safe, the move toward aesthetic or tactile fillers has introduced a significant new risk factor. A recent viral account from the 3D printing community highlights the specific dangers of using fine, loose materials. A user on the Reddit forum r/3Dprinting, u/GetMeOffThisRidePlz, shared a "Today I F***ed Up" (TIFU) moment that has served as a stark warning to others. The user was attempting to print "squishy dumplings" for their daughter using Thermoplastic Polyurethane (TPU), a flexible, rubber-like filament.
To enhance the visual appeal of the semi-transparent dumplings, the user decided to fill the 2% infill void with glitter. The goal was to create a sparkling, tactile toy. However, the experiment went awry the moment the print resumed. Most modern high-speed printers, such as the Bambu Lab P1S used in this instance, rely on powerful cooling systems to maintain print quality. These include a "part-cooling fan" on the print head and an "auxiliary fan" or "chamber fan" designed to circulate air throughout the enclosure.
As the user noted, the necessity of pausing the auxiliary fan just to pour the glitter in should have been a red flag. The moment the "resume" button was pressed, the printer’s firmware automatically re-engaged its cooling profile. The resulting gust of air acted like a leaf blower inside the confined space of the printer. Glitter—a material notorious for its ability to cling to surfaces and permeate even the smallest gaps—was instantly atomized, coating the internal electronics, the lubricated motion rails, and the delicate carbon rods of the machine.
The aftermath of a "glitter bomb" in a 3D printer is more than just a cosmetic nuisance. While glitter is often marketed in biodegradable forms today, its physical properties remain a nightmare for precision machinery. The particles are small enough to enter the bearings of the cooling fans, potentially causing premature failure. More critically, glitter can mix with the grease or oil on the printer’s linear rails and lead screws. This creates a gritty paste that increases friction, leads to "layer shifting," and can eventually score the metal surfaces, requiring a complete teardown and replacement of the motion system.

The Reddit user further reported that the experiment was a failure on all fronts: the glitter prevented the top layers of the TPU from adhering properly, leaving the dumplings unsealed and "leaking" glitter from the bottom.
Sand is even worse
The desire to add weight cheaply often leads hobbyists to consider sand as an alternative to metal weights. On the surface, sand seems like an ideal filler; it is incredibly dense, flows into complex internal cavities, and is virtually free. However, the mechanical risks associated with sand are even more severe than those of glitter.
Sand is highly abrasive. If a cooling fan catches even a small amount of sand and blows it toward the printer’s gantry, the damage can be instantaneous. Unlike glitter, which is often made of soft plastics or thin foils, sand is composed of silica and other hard minerals. If these grains find their way into the tracks of a 3D printer’s belts or the teeth of its drive gears, they can act like sandpaper, rapidly wearing down the components. Furthermore, sand is prone to "dusting," creating a fine powder that can settle on the motherboard or power supply, potentially leading to short circuits or overheating by insulating heat-sensitive components.
Custom G-code or superglue
For those who remain committed to the idea of enclosing loose materials within a 3D print, there are safer, albeit more complex, methodologies. The primary goal is to bypass the automatic fan engagement that occurs during the resumption of a print.
One advanced solution involves the use of custom G-code. In slicers like Bambu Studio, users can go beyond the standard "Add Pause" command and select "Add Custom G-code" at a specific layer. By inputting specific commands—such as M107 to disable the fan or M106 S0 to set the fan speed to zero—a user can theoretically prevent the "blowout" effect. However, this requires a deep understanding of the specific printer’s firmware. If the printer’s "resume" script is hard-coded to restart fans regardless of the layer-specific G-code, the custom command may be overridden, leading back to the original disaster. There is also the thermal risk: printing without cooling fans, especially with materials like PLA or TPU, can lead to poor structural integrity and "heat creep" in the extruder.
A far more reliable and mechanically sound alternative is the "print and glue" method. Most modern slicers now include a "Cut" tool, which allows a user to split a 3D model into two or more parts along any axis. By cutting a model horizontally, a maker can print the main body (the container) and the "lid" as two separate pieces on the same build plate.
This approach offers several advantages. First, it eliminates the need to interact with the printer while it is in a delicate, paused state. Second, it allows the user to fill the object in a controlled environment, such as over a trash can or outside, far away from the sensitive electronics of the 3D printer. Once filled, the two halves can be permanently joined using a specialized adhesive. For PLA, a standard cyanoacrylate (superglue) works effectively, while for materials like PETG or ABS, specific plastic welders or solvents can create a bond that is as strong as the original plastic.
Ultimately, the "glitter bomb" phenomenon serves as a vital reminder of the physical realities of 3D printing. While the software makes the process feel like a digital exercise, the hardware remains a collection of high-precision motors, fans, and lubricated surfaces. Protecting those components from environmental contaminants—especially those introduced by the user—is essential for maintaining the accuracy and lifespan of the machine. As the community continues to push the boundaries of what can be "grown" in a 3D printer, the lesson remains clear: keep the loose stuff out of the enclosure.
 Tech Tutorials & How-To Guides
Google Transitions Beyond Chromebooks: A Deep Look at the New Googlebook OS and Its Enhanced Local File Management
The landscape of portable computing has undergone a seismic shift with the...
 Tech Tutorials & How-To Guides
Beyond the Brand: Why Even Premium Power Drills Fail Due to Common Operational Habits
In the modern landscape of home improvement and professional construction, the cordless...
 Tech Tutorials & How-To Guides
The Mechanical Resilience of the Hard Disk Drive: Utilizing Hook-and-Loop Fasteners to Combat Vibration and Extend Hardware Longevity
In an era increasingly dominated by the blistering speeds of NVMe solid-state...